Planar Trials
Sigil: Planar Legends has a variety of unique systems and encounters which differ from the traditional Neverwinter Nights experience, and offer unique rewards which can be found nowhere else on the server. Whilst this page is intended to be informative, not everything about these systems is explored in detail to preserve the initial new player experience of them.
Spire of Valor
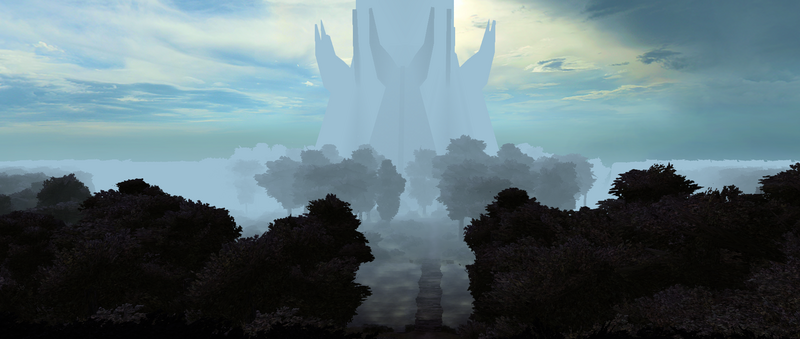
Amidst the gnarled trees, where vigilant eyes peer and skulk, stands a grand tower of pristine marble that reaches for the sky, its polished facade mirroring the speckled sunlight that filters through the foliage. The Spire of Valor appears boundless, as do the tests that await within, designed by a goddess; Ahtia, the Overgod of Asoruna.
The Spire of Valor is a unique wave-based dungeon experience in Sigil: Planar Legends. Ascend up the tower, fighting increasingly difficult enemies on every floor, and be granted either boon or punishment by the enigmatic goddess who empowers these trials. Is there an end to the tower -- and if there is, what’s at the top?
Location
The Spire of Valor is located in the Prime Material Plane, within a Sphere named Asoruna. Powerful mages or Gatecrashers may be able to travel to and from the Spire via the use of spellcraft, and rumours abound of a Sigilian portal in the Clerk’s Ward which, with the right key, may grant access to the curious.
Whatever you do, don’t stray away from the woodland path towards the Spire itself…
The Basics
When entering the Spire, you will come across five pedestals, each containing a runestone which allows one character access to the Spire of Valor. Due to this, only up to five characters may party together through the gauntlet. From there, an activatable elevator will take the party to the challenge proper -- note that characters below level 20 will begin on the first floor, level 20 characters will begin on the twentieth, and epic characters will start at floor fourty.
Every fifth floor will have a side room, which will offer a variety of different boons (or disadvantages) to a party, depending on their success at the given challenges within. Every twentieth floor will have a unique guardian the party will have to defeat. After each floor, dead party members will be automatically resurrected, and should the entire party be defeated, they will merely reappear back at the base of the Spire of Valor.
(Note: Hardcore characters still risk permadeath, should they be defeated in the Spire of Valor. To escape prematurely, they merely have to retreat through the door to a previous floor to automatically descend back to the beginning. Unlike in other content - the entire party will retain all memories of combat even if they are defeated and fall in combat.)
No climb is the same as the last, as encounters, side rooms, bosses, and even loot are totally randomly generated every time.
The Rewards
Each floor will offer the party a single unique, randomly generated equipment reward. Only one party member may take this item. Once this is taken into a character’s inventory, it binds to their person and cannot be traded, sold, or used by another character. Every twentieth floor upgrades the ‘tier’ of items on offer (20, 40, 60, etc.). Only one item is generated per floor, not per character.

The Blight of Ysgard
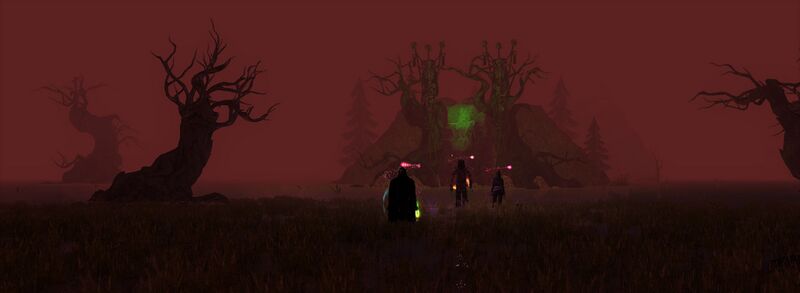
Within the sacred battle fjords of Ysgard, Hel -- the cursed underworld goddess -- wages war against others within the Nordic Pantheon. Her cursed followers have placed powerful blight stones throughout the land, corrupting the very essence of Ysgard and bringing destruction in their wake. Planeswalkers from across the multiverse have taken it upon themselves to embark on crusades to destroy these stones and rid Hel's blight from Ysgard. However, her followers fiercely protect these stones, making the crusade a perilous one.
The Blight of Ysgard is a unique four-stage gauntlet system in Sigil: Planar Legends. Each stage takes place in a different region of Ysgard and is designed to prioritize speed, tactics, and wayfinding against hordes of enemies. The stages are designed to challenge players both individually and as a team, with uniquely named creatures possessing their own mechanics, abilities, and weaknesses. Successful completion of each stage requires not only individual skill and strategy but also coordinated teamwork and communication. Ysgard is intended for a party of five, though it may be done with fewer characters.
Difficulty
Ysgard is designed with five different difficulty levels, all intended for characters at or near level 20. The first two difficulties, 'Milk-drinker' and 'Warrior', are intended for newer players and those seeking a more casual experience. The third difficulty, 'Thane', is considered the average experience, with challenges that are designed to test a player's skill and strategy.
The fourth difficulty, 'Jarl', is intended for seasoned players who are looking for a significant challenge. This difficulty is designed to test players' knowledge of Ysgard's mechanics and their ability to adapt to the various situations presented to them.
The fifth and final difficulty, 'Ragnarok', is designed for only the most skilled and experienced players. This difficulty offers uniquely titled rewards that cannot be obtained elsewhere, making it a highly sought-after experience. However, it is also incredibly difficult, with challenges that require perfect execution and teamwork to overcome.
The harder the difficulty, the greater the rewards offered upon completion of each stage. Players are encouraged to push themselves and their teams to tackle the higher difficulties and reap the benefits of their hard work and perseverance.
The Basics
In the Blight of Ysgard, the first three stages are a race against time as the party must navigate through a maze-like environment while being relentlessly pursued by hordes of enemies. During this time, unique enemies may appear, equipped with hostile abilities that can debuff or disable the party, requiring swift action and prioritization. Occasionally, the environment of each stage may have unique properties which the party will need to prepare for.
Occasionally, the party may find supply caches containing unique consumables which can buff the characters in various ways, but these cannot be taken out of Ysgard. The three initial stages are often followed by a brief rest period, but otherwise, there are few breaks between stages, and speed is of the essence.
The fourth and final stage involves breaking the blight stone itself, the party having to survive ten minutes of relentless onslaught by enemies to achieve victory.
It is important to note that kills and participation are tracked, and simply rushing through without engaging in combat will result in a lesser reward. Equally, should the entire party fall, they may respawn at no penalty outside the breach of Ysgard. Upon success, gold and unique, randomly generated equipment are given to each character. The equipment may be shared with those in the party for use, but cannot be traded, sold, or used by anyone else.
Altars, Pillars, and Effigies
Throughout the stages of Blighted Ysgard, players may come across three unique structures: Altars of Tributes, Pillars of Strife, and Effigies of the Valkyrie. These structures offer unique benefits to players and can help turn the tide of battle.
Altars of Tributes are special altars that can be found throughout Ysgard. They offer a single character a unique boon in exchange for penningar, a rare resource found in supply caches.
Pillars of Strife are structures that, when activated, spawn a unique creature for the party to defeat. Once the creature is defeated, the pillar may be activated by each character in the party, granting them two boons. Additionally, each party member receives five penningar when the pillar is destroyed.
Effigies of the Valkyrie are statues that offer healing to the party and harm to enemies while they are nearby. When activated, these effigies also grant unique boons similar to altars and pillars, but at no cost.
Each of these unique structures can help players progress through the stages of Blighted Ysgard and overcome the many challenges that they will face.

The Torment System
In Sigil: Planar Legends, we offer a system known as 'Torment'. Torment modifies enemies as they spawn in, scaling and adjusting the difficulty of encounters. Currently, the Torment system is a mechanical-forward system and doesn't have a direct in-game lore basis other than the Multiverse and Planes themselves are strange, unusual, and at times very dangerous. Players are welcome and encouraged to make use of the Torment system for both the mechanical challenge and to generate their own small and interesting bouts of roleplay for otherwise mundane locations.
You need to be the party leader and level 20 or higher to activate Torment. Torment does not work on any area inside of Sigil. The entire party does not need to be lever 20+, just the leader.
You can use the chat command `/torment 1-9` to activate scaling difficulty. The higher the number, the more difficult spawned monsters will be. Some enemies will spawn with special titles, such as Leeching, Champion, Exploding, and Brute, among many others. These titles may drastically change how combat with such foes normally plays out. Enemies with the Champion and Brute titles are also able to drop special Torment-quality gear depending on if you have a high enough Torment-modifier activated; this gear is randomly generated and it is possible for it to be superior in quality to typical gear found at the end of dungeons. To disable Torment, use `/torment 0`.
You do not need to be in a party to use Torment - you can activate it and challenge it solo. /torment 1 can be seen as a challenging spin on normal content for solo or duo characters, whereas /torment 5 can be exceedingly difficult for even six or seven-man groups. Torment's difficulty scales per mob using a formulaic system.
The party leader must be in the area when the enemies spawn for the Torment modifier to take effect.
It is possible for Dungeon Masters to force special Torment Modifiers on - these override player settings at all times.
Additional Challenges
The Demiplane of Mirrors
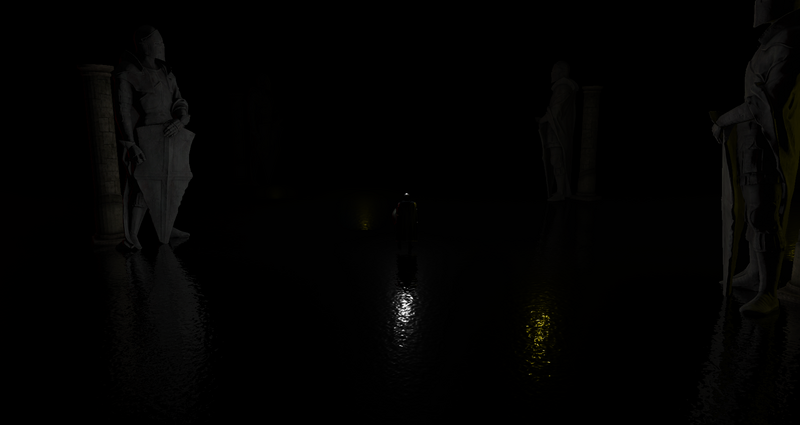
Chant has it that somewhere in the Lady’s Ward, near Bloodgem, there’s a mysterious shop which buys and sells only to the most mythical of planeswalkers -- but more interesting yet, is a mirror within. It allows one to face their demons, perhaps rather literally. I wonder where one may find such a thing…
Capsule Monsters
Somewhere in the Market Ward, a cutter can find themselves a portal to a mysterious demiplane -- some hall which offers a unique ‘capsule’ one can use to capture strange creatures out in the ‘verse. Train ‘em, get multiple of ‘em, and you might even find fellow Planeswalkers willin’ to battle with you…
Artifacts
About the planes, rarely, strange fragments of circular, unstable artifacts can be found -- shattered into four pieces in total -- and may be combined with some ritual or other, sacrificing a million jink for the chance at something real special. Only the best of the best ever see one fragment of such a thing, however, let alone four corresponding parts…

